Untitled from alexandria Fleetwood on Vimeo.
Wednesday 4 May 2011


Here is the deer character, I just used acrylic paints for his face and will do the same for his body.

This will be the main backdrop, I wanted to create a bright, happy sky. I am going to then paint a few trees on top as its a wood setting.


These are a few extra cuttings which will be added to the background, along with a cut out green hedge.

The making process...
All the characters will be made from card as it is sturdy and easy to cut and paint on. Below is the first process of the doll.

I decided to go over the features on pen to stand out and make it easier when cutting. I also places the piece of fabric for the top to see what it looked like- I think i'll stick to that one, however, I am going to sew on a few stitches around the edge to give it that 'hand crafted look'.

I initially thought that blonde hair would work best however, I feel she looks a bit too innocent and not very original as most dolls have blonde hair so I thought using a bold colour such as black would look better.


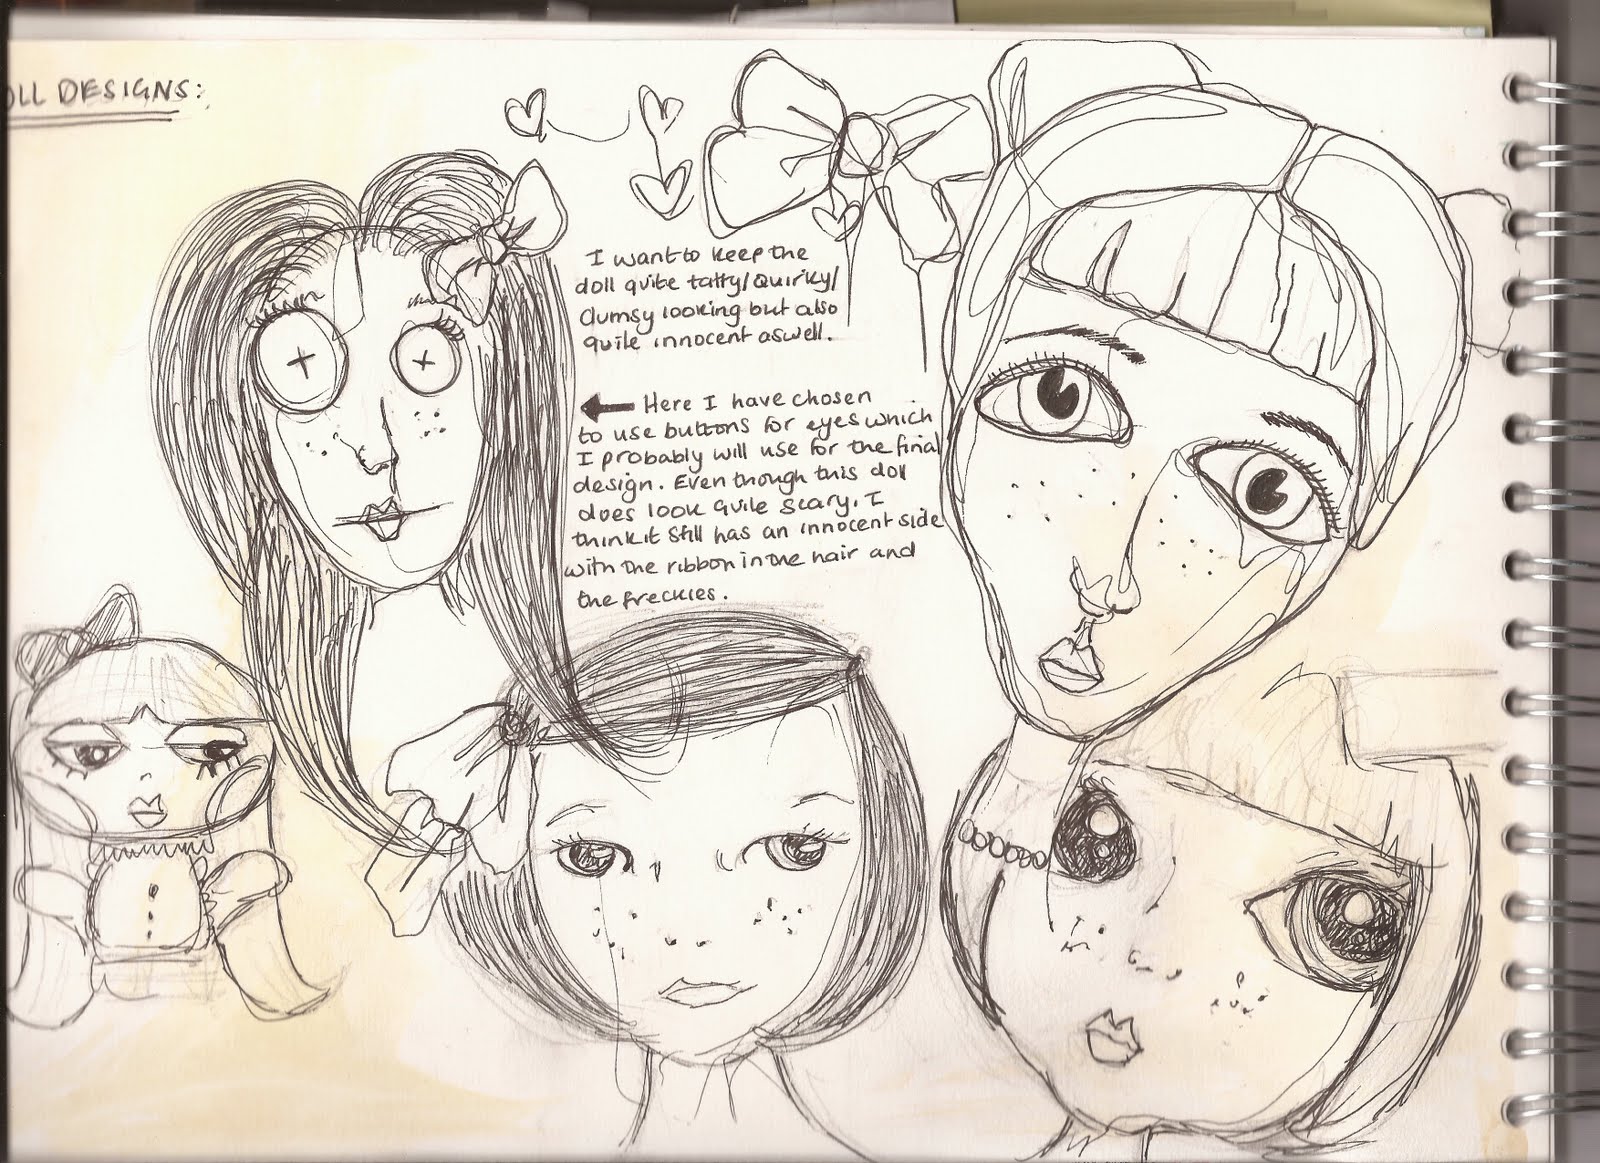
After much thought, I finally came up with an idea for a character. With basing my ideas around the subject of dolls, I made sure it had doll characteristics, such as big green eyes, small pert lips and rosey cheeks. I wanted the doll to have an innocent look with those typical doll features however, I still wanted her to have a quirky appearance with a bold colour and hairstyle and cheeks which are made to be sewn on. I have decided that I am going to paint the features on the head but then use fabric for the clothes which will make her look more interesting and come to life. I am going to use paper fasteners to attach the head and arms- this will be useful when filming for more moving actions and it will give the character more personality.- I will have to also create a few different set of eyes looking in different directions and maybe a different mouth which I can stick on during filming to express more emotion.

Here are a few samples of fabrics to choose for the clothes. I want her top to be quite girly and pretty but simple. She is going to have a long skirt but I want the skirt to look slightly tatty so she doesn't look to 'perfect'.

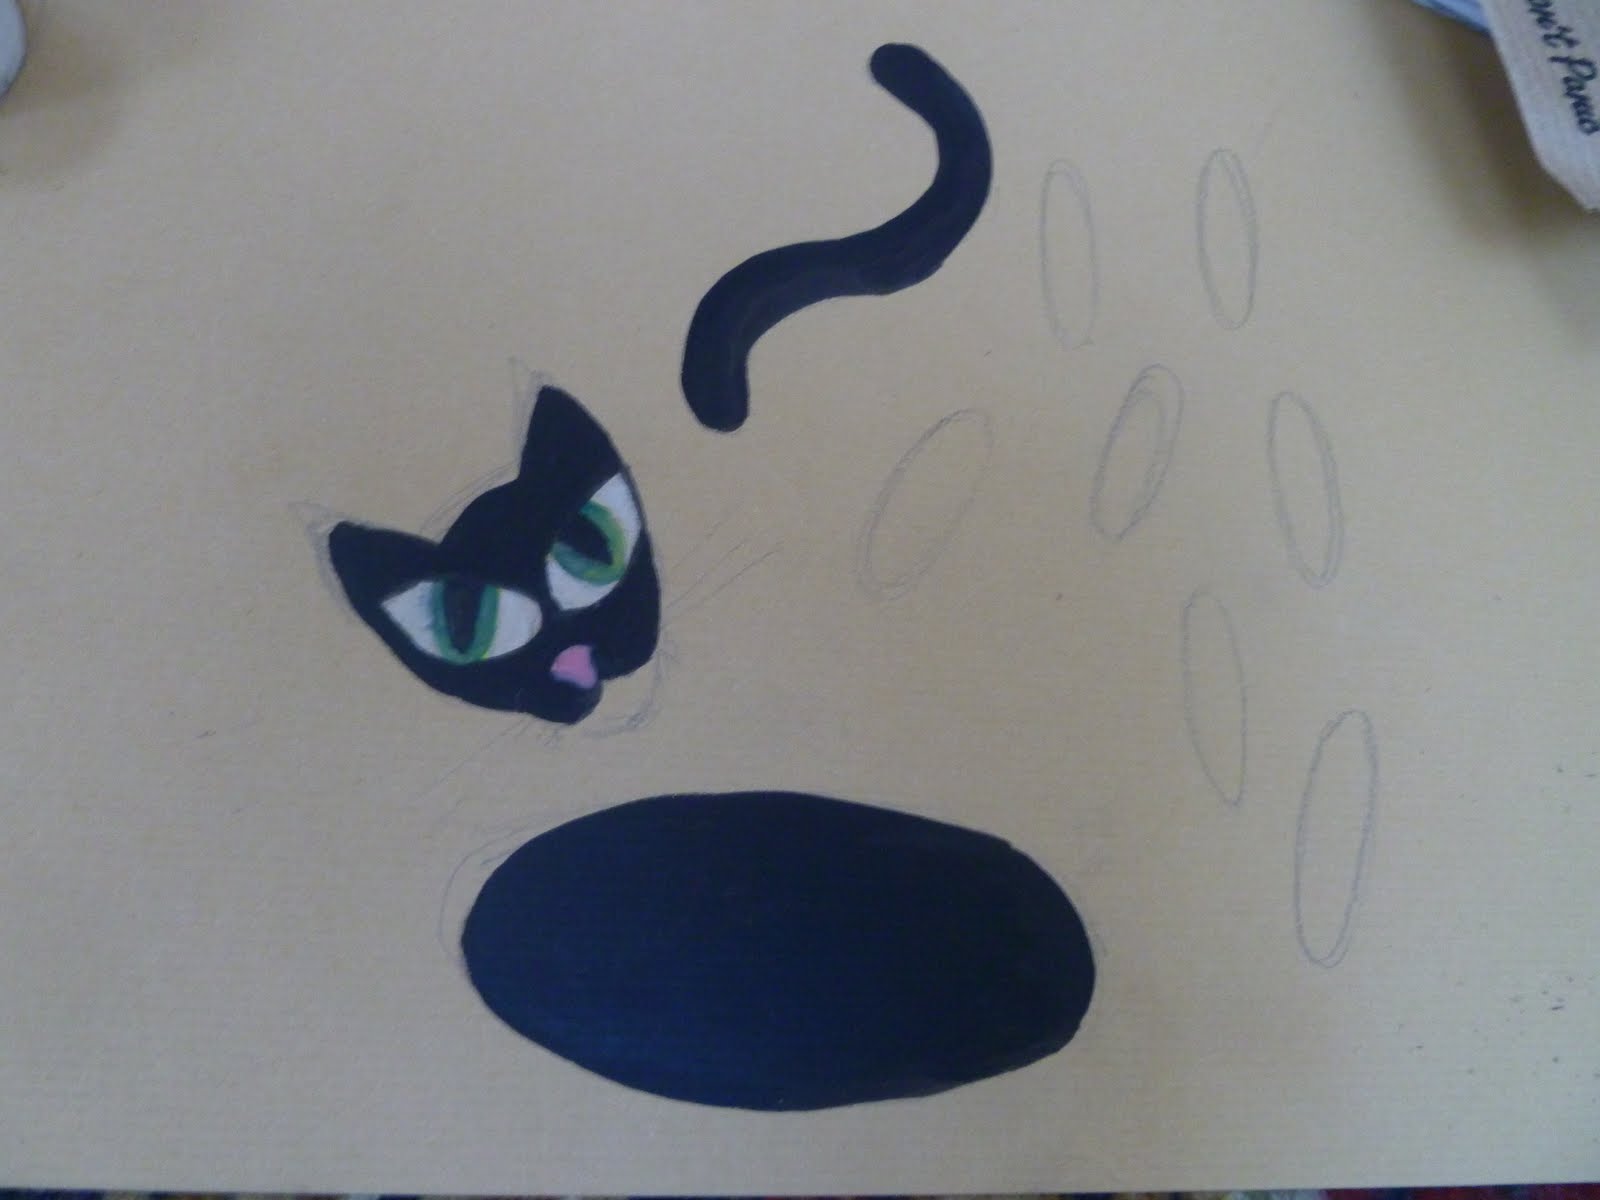
Here is the cat design. I wanted to flow with the theme of big eyes. Painting him black makes him more mysterious. I have tried to make him look cute but then have a slight sinister look about him which makes you wonder whether to trust him at first in the animation. I will use paper fasteners for the head and the tail.

The deer is a minor character; the cat brings the girl to him. Unlike the other characters, this one does not move around the scene, however, his antlers and head will move.

Designing Characters
When designing the doll character, I know I will have to keep in mind my three words and make sure she will fit in. I want to stick to bright, happy colours- particularly in the backdrop. She will have big green eyes, rosey cheeks, small pert lips and freckles. Designing her clothes and hairstyle might take a bit more experimenting.

The second character will be the cat; again, he will have large eyes and I was thinking of painting him black- which is more mysterious when the girl follows him through the woods.

I have developed the doll character- here I have added messy, curly hair and stitches- looking like a worn -out, tatty doll.

Again, just experimenting more with the hairstyles. Both the images have been painted, however, with the one on the right, I have also added textured bits of paper.


Final Storyboard.


Coming up with an idea...
After much thought, I want to use Stop motion for my animation. I had previously had ideas of using cell animation however, I don't think I would have had enough time to get the drawings looking as detailed as I would want. With inspiration from my 3 words, I want my story to be innocent yet slightly quirky and original. I am going to make the characters that appear in the animation out of card and add colour using paints. I have come up with the idea of using a doll like character. I initially found inspiration for this idea when I came across the designer, Kira Shaimanova, who is a three dimensional illustrator. She creates individual dolls made from clay, inspired by the unreal and fantasy.
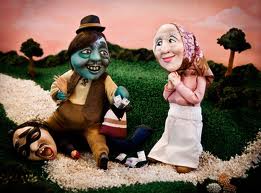

These characters and the quirky style reminded me of Tim Burton who is famous for illustrating the characters for films such as 'The nightmare Before Christmas' and 'Corpse Bride'.


I decided to research a few doll characters...

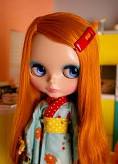
I like the big heads and big eyes that these dolls have; I would want my doll to have an innocent look so i'd use big eyes and freckles and small pert lips like these examples.
These two dolls have a sinister look about them; especially the one below, which I like, the style is very quirky and original.

Monday 11 April 2011
Experimenting with cell animation.
This cell animation was made from a series of drawings and the put together using After Effects.
I think cell animation is a very effective technique to use for an animation. It flows well and looks original with the hand drawn sketches. However, I feel it would be too ambitious for me to use this technique as I would probably spend too much time focusing on the detail of the sketches and not use my time efficiently.
Untitled from alexandria Fleetwood on Vimeo.
As this was just an experiment, we decided to stick to just simple characters and narrative. The basic story is a bat which flies into the scene, when the triangle girl enters, the bat starts chasing her, the round man then goes in to save the day and hits the bat away.


Sunday 10 April 2011
3 words...
These are the 3 words that came to mind when listening to the audio;
INNOCENT.
FANTASY.
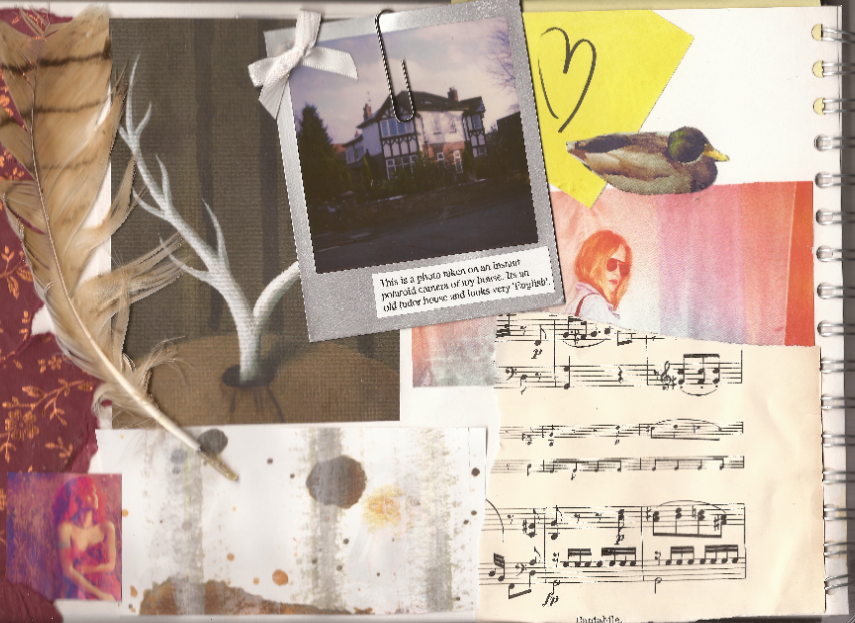
(mood boards)
(mood boards)


Tuesday 5 April 2011
Rayograms.
I really like this technique; the contrast between the black and grey backgrounds against the light negative shapes look really effective. I'm not sure if ill use this method when creating my animation, however, I want to experiment with capturing different objects, as the images created are very inspirational when coming up for ideas for a subject to work on.

This was the first one I made which turned out better than expected. This was a tester piece to see how many seconds of light exposure I would need to create a good colour and contrast. I did this in about 7 sections, using 2 seconds of light each time so the beginning of the strip had a total of around 14 seconds of light exposure.
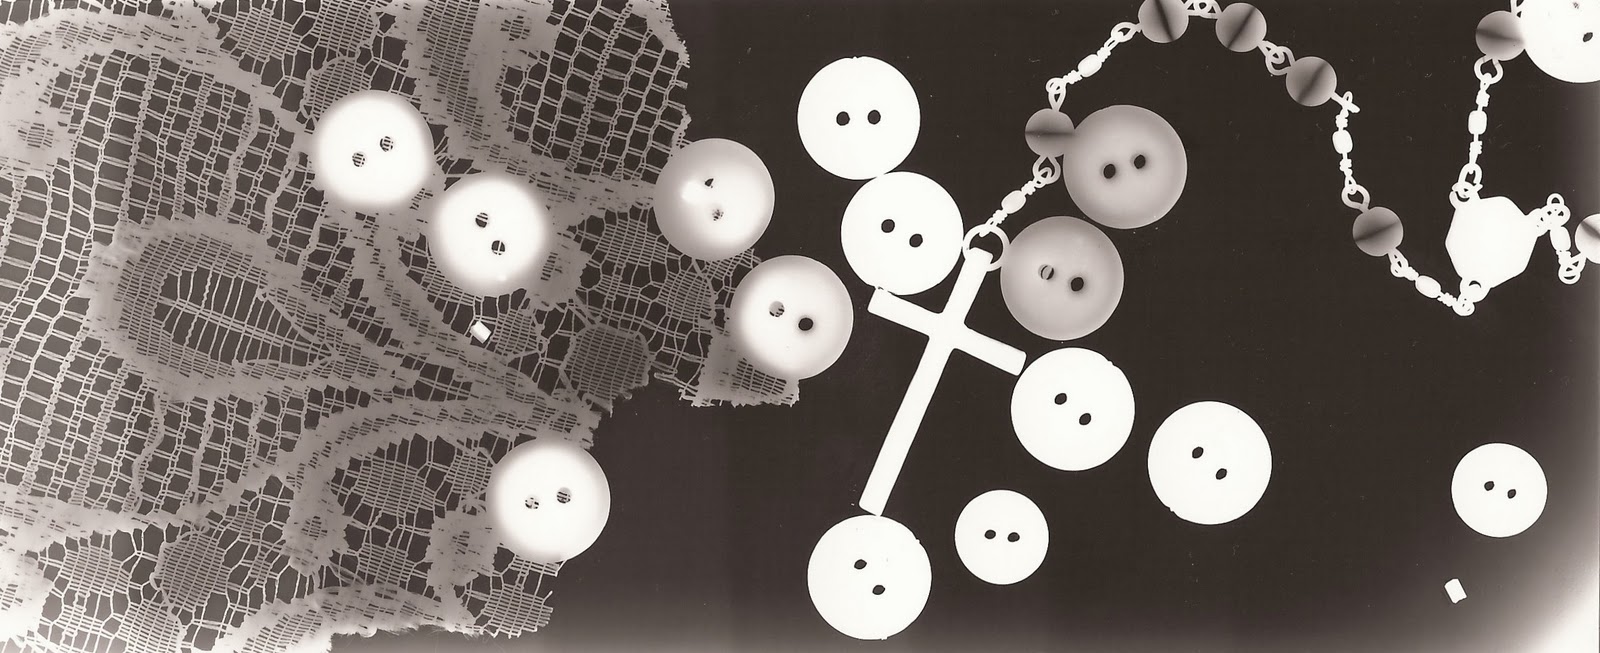

I feel these two turned out better than the one above as the detail of the objects is a lot more defined
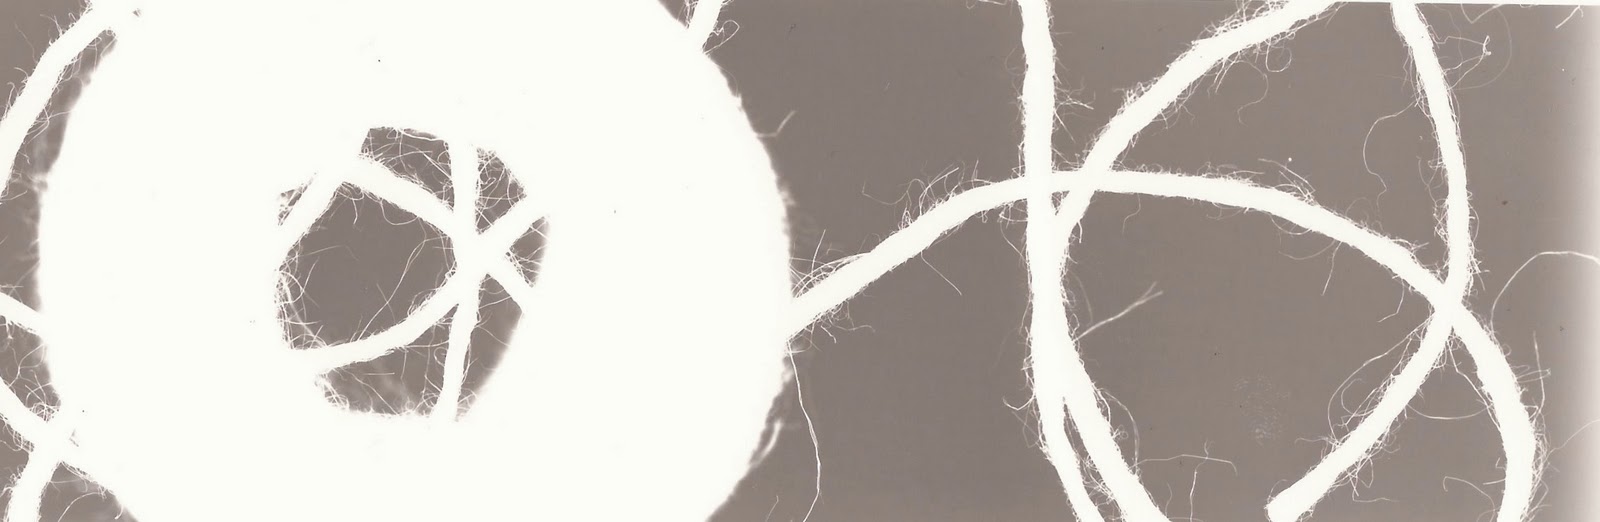
This is a ball of string, I like the detail of the tine strands.

Saturday 2 April 2011
... a few more animations I found on youtube
I also came across quite a few 'Amazon Kindle' adverts where stop motion has been used...
Wednesday 30 March 2011
PRINT TO PIXEL.
Goldberg Variations, BWV 988- Variation 1. Quite a happy and jolly song which is very repetitive throughout so I have decided to use the first part of the audio, finishing around 26 seconds; at this specific time, it has a low finishing note which would be a very suitable tone to end the animation on.
I'm very unsure whether I want to create a hand drawn detailed animation such as creating a character or a more abstract piece- experimenting with different materials. Firstly, I have been researching and coming up with words and information that relate to this audio in my sketchbook. I also want to research existing examples of animation for inspiration- which I will display in this blog.
----------------------------------------------------------------------------------------------
Goldberg Variations, BWV 988- Variation 1:
This was one of the first animated videos I came across while researching on youtube, I like how it has been created using just rough biro sketches. The audio used is a classical tune which goes well with this animation.
This has got to be one of my favourite animated videos, I find it amazing that such an effective animation could come from something as simple as post it notes.
Carphone Warehouse advert...Monday 14 March 2011
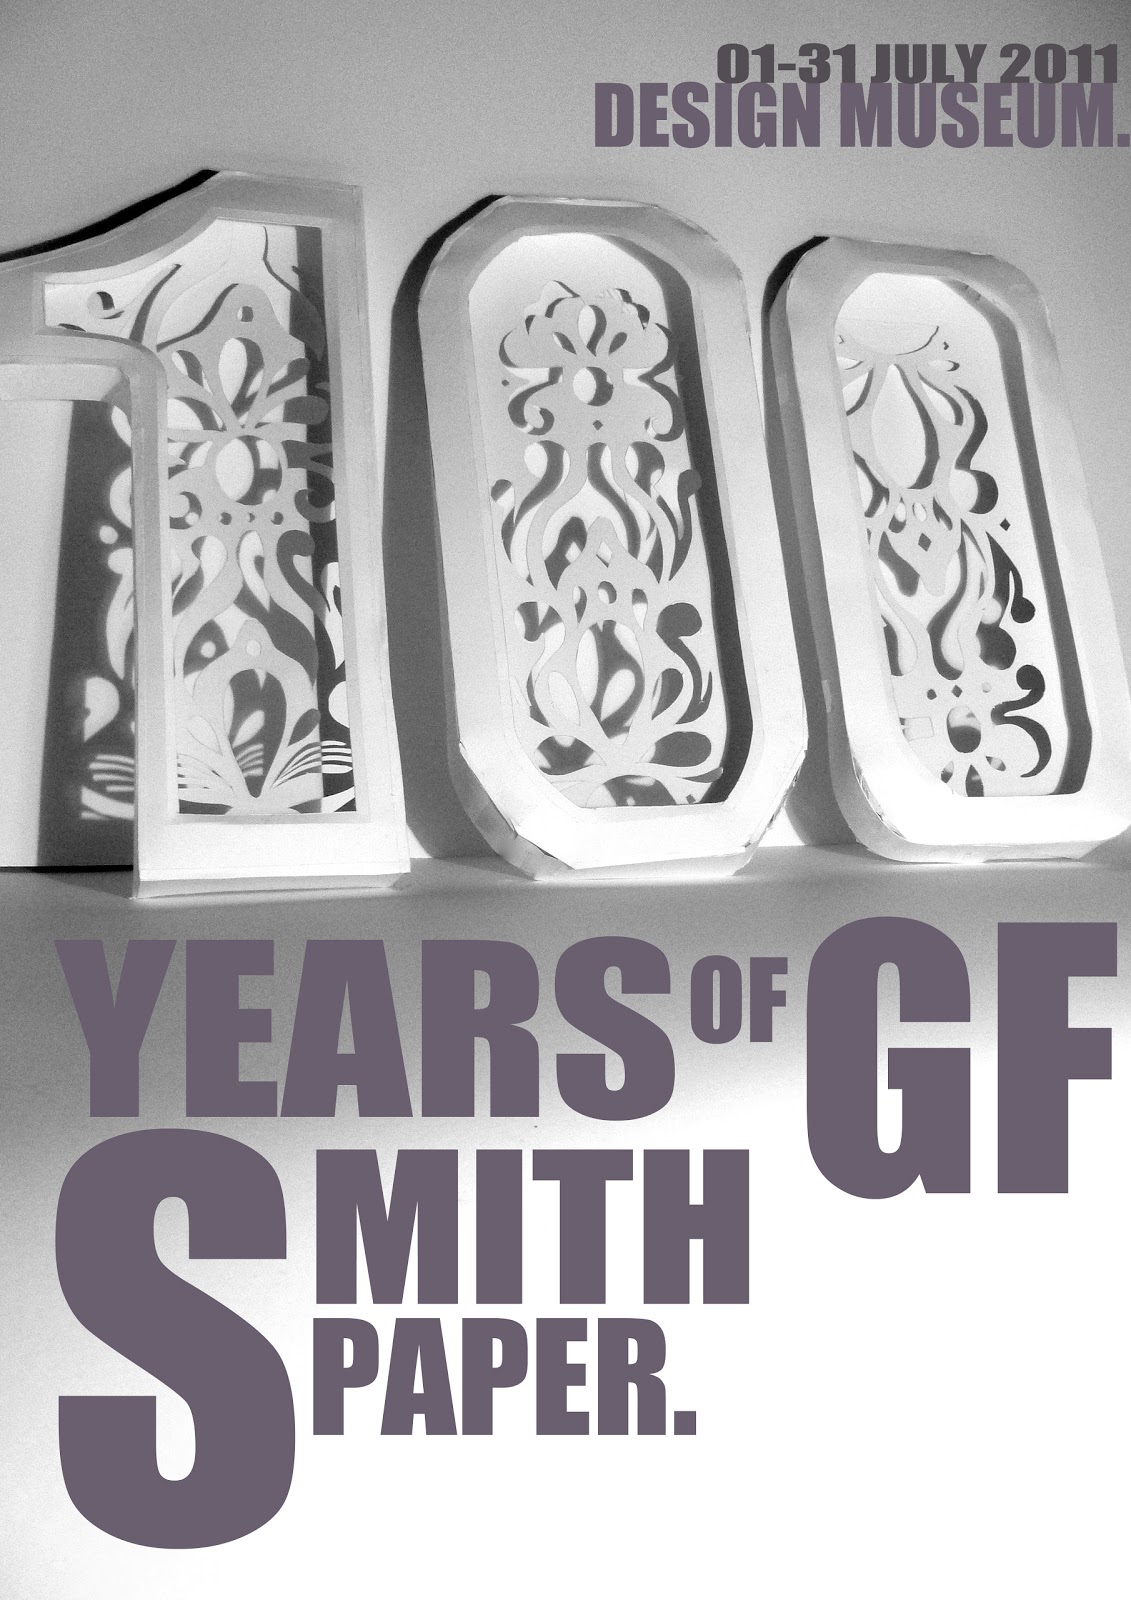
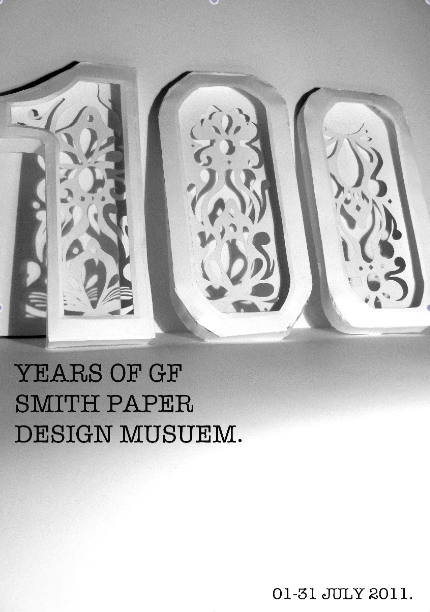
Poster Finished!
I decided to use large text as I wanted it quite dramatic and eye catching, I decided to use a dark lilic shade, which adds just the right amount of colour.

Here are two examples of experimentation on Photoshop, above is one of the examples when I was trying to choose a colour for the text.
Below I started messing around with smaller text and just sticking to black, I feel the larger text works a lot better on the page.
Evaluation:
I feel the poster was quite successful, I am glad I decided to re-take the photos on a white background as it has a more professional look and shows off the design and 3D aspect to the numbers. If I were to do it again or alter areas, I would make the word 'years' into the same 3D shapes as the numbers, however, I would make them slightly smaller and position them in front.
This blog displays most of the photographs and development of my work and designer inspiration, my sketchbook displays more of the sketches and ideas.
Subscribe to:
Posts (Atom)